How to Turn Books Into Beautiful Ornaments
By Lou Godmer • April 12, 2019
This is a very quick and easy upcycling project for you to try, perfect for a novice crafter and with tons of creative opportunities for an advanced upcycler. These beautiful ornaments can dress up your desk or bookshelf, hang from the ceiling, or personalize your holiday tree. They make a wonderful personalized gift for the readers in your life. What you will need:
- About an hour of time
- A paperback book
- A hobby knife
- [Optional] Thread or yarn, about 3x the height of your book
The book must be paperback and must have at least 200 pages (front and back, or 100 physical pages). For holiday ornaments you want to select a very small book so that the tree can support the weight of the book. I like to use a book that has some meaning to me or to the person I am gifting the ornament to. I made a set of ornaments out of the Harry Potter series for a friend who is an avid Harry Potter fan. I also made one for my own bookshelf out of Shogun which is my very favorite book. For this tutorial, I am using World War Z to make a gift for my brother who loves zombie stories.
Getting Started
- Tear off the front and back cover of your book. For someone who is a great lover of books this is the hardest part.
- Choose what pattern you want to fold the pages in. Here are some of the simplest patterns:
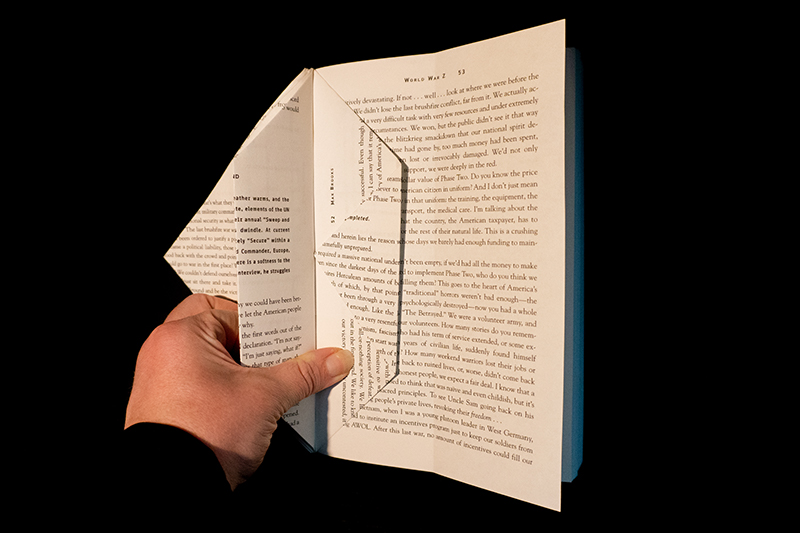
Triangle - Fold the top right and bottom right corners all the way into the inside edge of the book

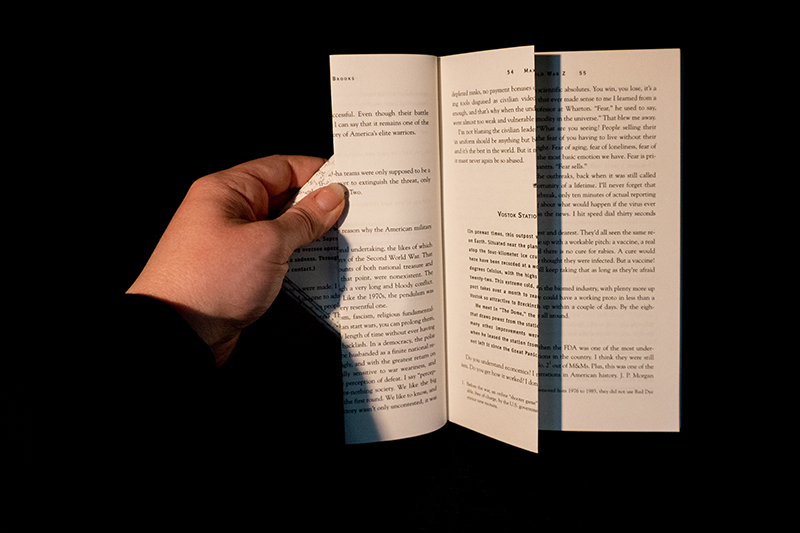
Rectangle - Fold the outside edge of the page all the way into the inside edge
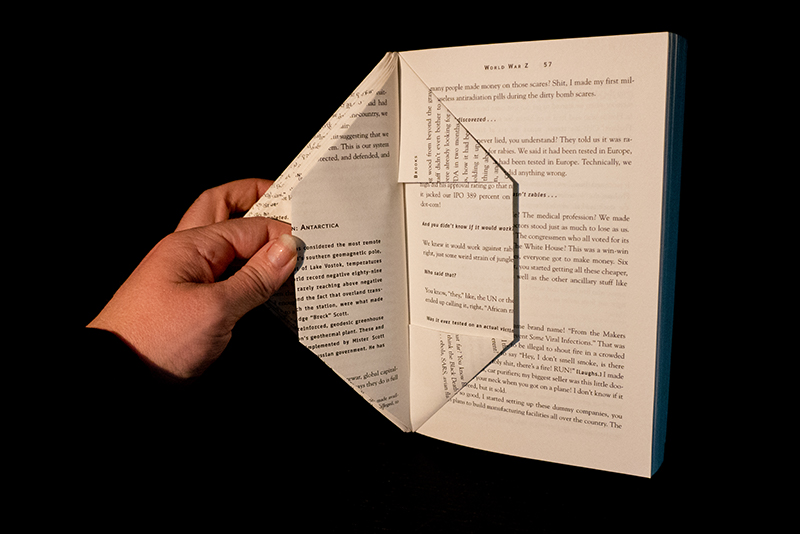
Trapezoid 1 - Start with the Triangle fold - then fold the right corner into the inside edge
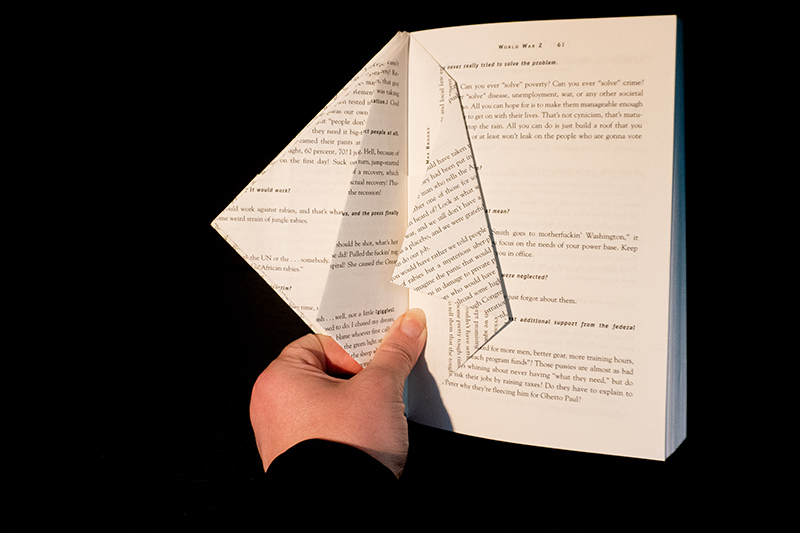
Trapezoid 2 - Start with the Rectangle fold - then fold the right corners into the inside edge
 <
<
Get creative! - Try asymmetrical shapes, or try a mixture - with 10 - 20 pages of one shape and then 10 - 20 pages of a different shape.
Finishing
Continue folding pages until you have a really hard time getting your folds all the way into the center. You should fold at least 150 to 200 pages, depending on the thickness of the pages and the size of your book.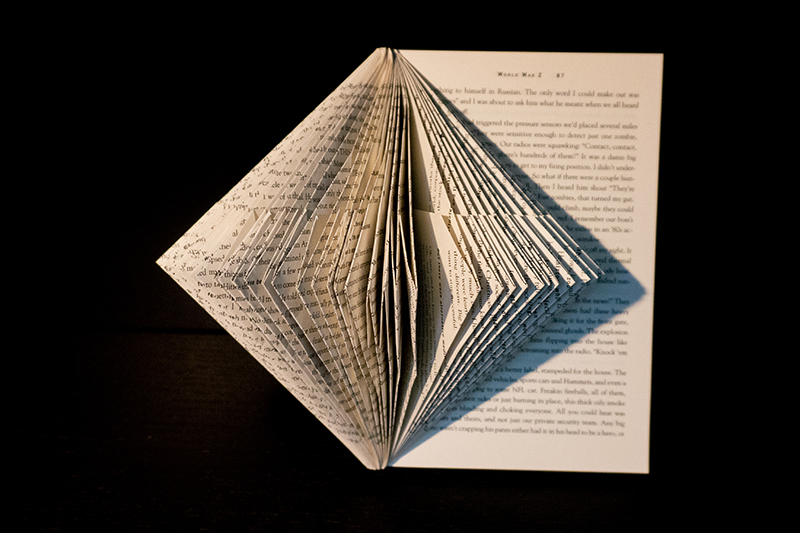
When you are finished folding, use your hobby knife to carefully cut through the binding to separate your ornament from the rest of the book.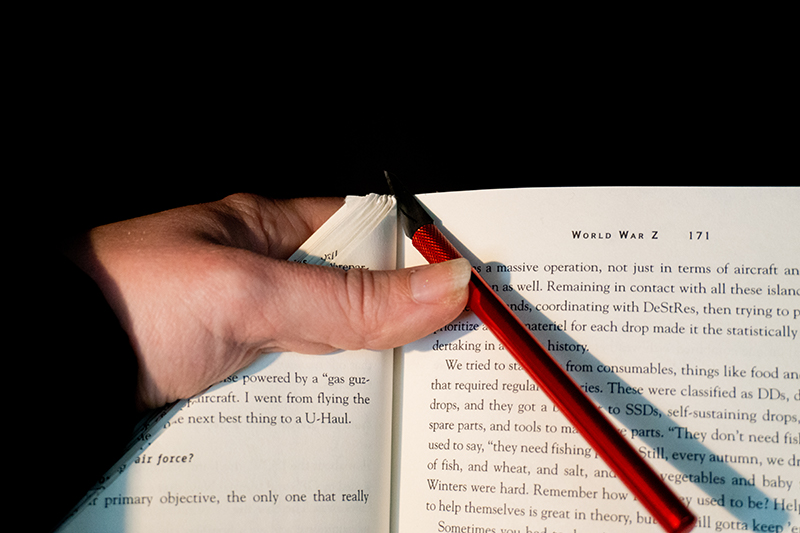
If you have folded enough pages the seam where the front and back meet should not be visible, and the ornament should bend around and stay open on its own. If it is visible or not staying open on its own, you can add a bit of glue on the spine to hold the front and back together and use clothespins or paper clips to hold it while the glue dries.
At this point you can add the thread if you want to make a hanging ornament. Simply cut a length of thread about 3 times the height of your ornament and wrap the thread around the spine of the book. The thread should be tucked into the pages and not be visible from the outside. Tie a knot tightly around the top of the spine, and then tie another knot at the end of the threads to make a loop.
Check out some of these books for other upcycling inspiration:
- Upcycling : Create Beautiful Things with the Stuff You Already Have
- Trash to Treasure : A Kid's Upcycling Guide to Crafts
- Playing with Books : The Art of Upcycling, Deconstructing, and Reimagining the Book
- Upcycling Outdoors : 20 Creative Garden Projects Made from Reclaimed Materials
- Upcycling Celebrations : A Use-What-You-Have Guide to Decorating, Gift-Giving and Entertaining
About the Author: Lou Godmer is a Software Engineer by trade and has a passion for doing arts and crafts in her spare time. She is married to Corey Godmer who is a Software Engineer at ThriftBooks. Corey and Lou have two beautiful dogs whom she loves to photograph. Check them out on her Instagram
Leave a Comment
ThriftBooks ® and the ThriftBooks ® logo are registered trademarks of Thrift Books Global, LLC